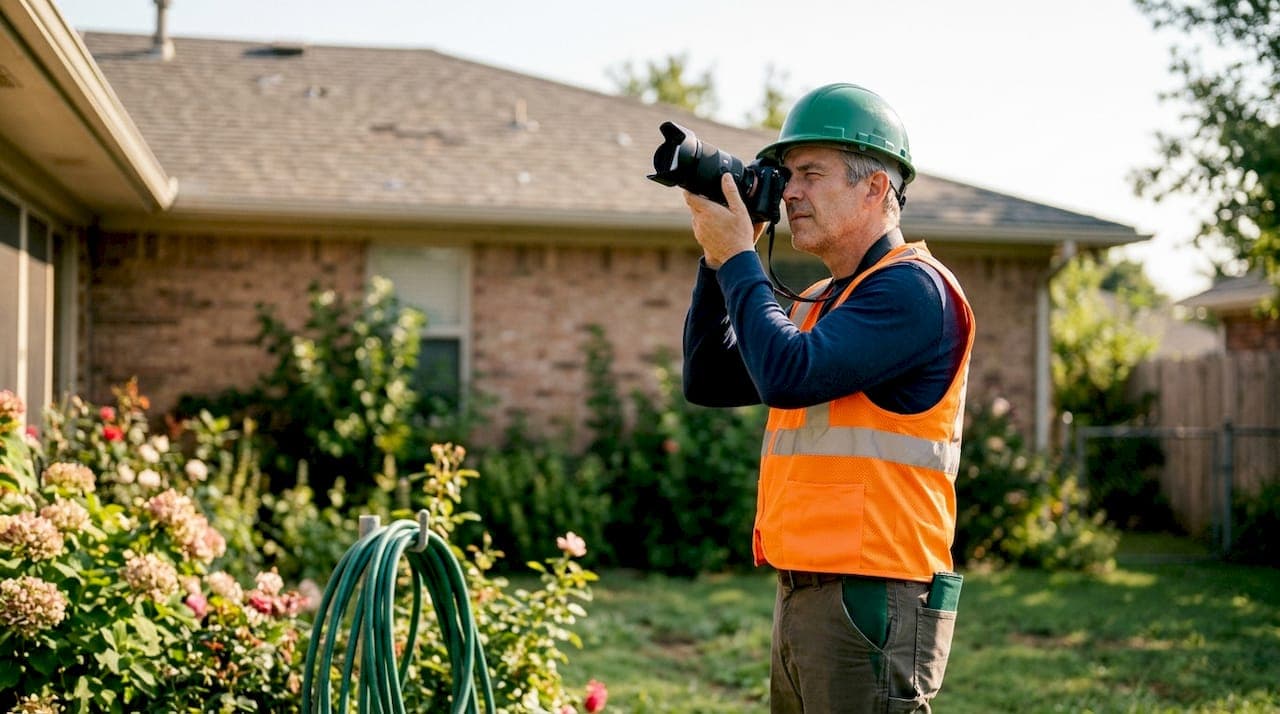
Effective roof damage documentation is the process of capturing clear, organized, and objective photo evidence that proves storm-caused damage to your insurer and repair contractor. Without it, insurance adjusters have little to work from, and claims get delayed or denied. A complete documentation packet typically requires 40 to 100+ photos and a short video walkthrough. That volume sounds like a lot, but a homeowner working from ground level can collect adequate evidence in about 20 minutes. Chattanoogaroofrepairs helps Chattanooga homeowners through every step of this process, from the first photo after a storm to the final repair.
How to document storm roof damage photos before you start
Good documentation starts before you pick up your phone. Gathering the right tools and information first saves time and prevents gaps in your evidence.
What you need before you begin:
- A smartphone or camera with timestamps enabled. Timestamps prove when photos were taken, which ties your evidence directly to the storm event.
- A notepad or note-taking app for written observations. Photos show what happened; notes explain where and how.
- A stable position on the ground, such as a sidewalk, driveway, or yard. Never climb onto a damaged roof before a professional inspection.
- Access to the NOAA Storm Events Database, which provides government-verified records of specific storm events by date and location. This report prevents insurers from attributing your damage to pre-existing wear.
- A ladder, used only to look over the eave line from a safe position, not to walk the roof.
- Your insurance policy number and claim number, ready to reference when you submit.
The NOAA Storm Events Database is one of the most overlooked tools in storm damage roof inspection. Pairing official weather records with your photos creates a documented timeline that ties damage directly to an insurable event. That connection is what stops an insurer from calling your missing shingles a maintenance issue.
Pro Tip: Set your phone's camera to save location data along with timestamps. That metadata embeds GPS coordinates into each photo, giving your evidence an extra layer of verification.

Step-by-step guide to capturing complete roof damage photos
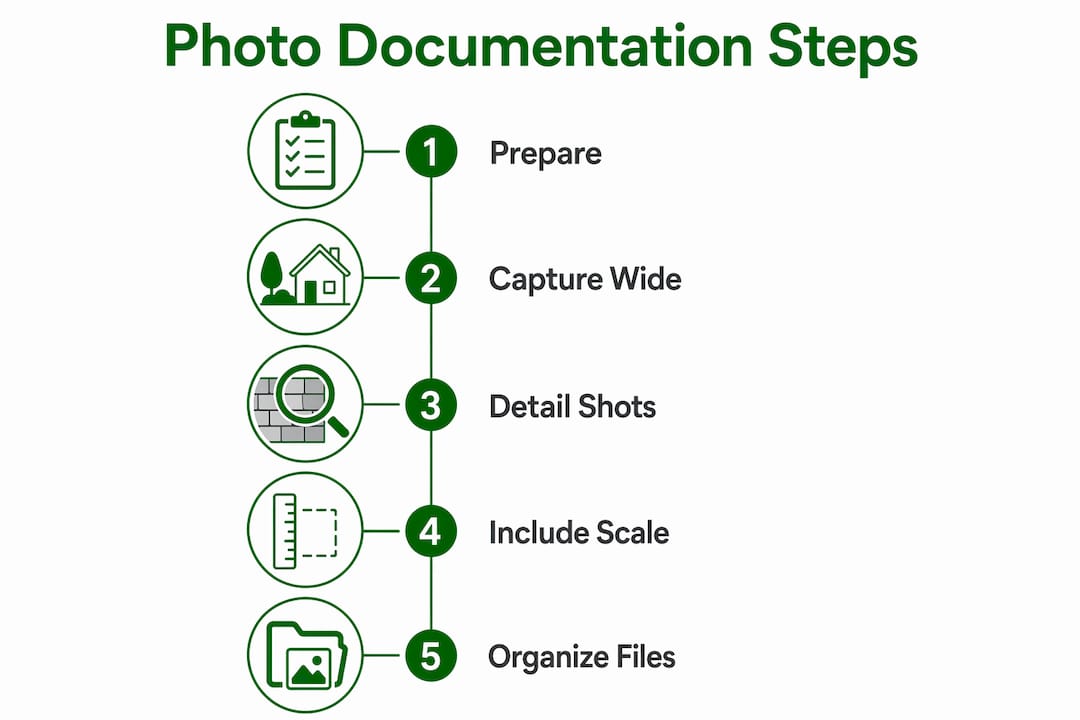
A systematic approach produces the kind of photo set that adjusters and contractors can actually use. Work through the following sequence from ground level.
-
Wide establishing shots. Start with four photos, one from each corner of the property. These show the full roof profile, surrounding trees, and any debris on the ground. They establish context for everything that follows.
-
Slope-by-slope overview shots. Photograph each roof slope as a whole before moving to close-ups. Label each slope by compass direction: north slope, south slope, east slope, west slope. This gives your photo set a clear structure.
-
Close-up damage shots. For each slope, photograph specific damage points: missing shingles, cracked or lifted shingles, granule loss, and exposed underlayment. Get within 3–5 feet of the damage zone if you can do so safely from the ground or eave line.
-
Soft metal surfaces. Photograph gutters, downspouts, flashing around chimneys and vents, and any metal valleys. Hail leaves distinct circular dents on soft metals. These marks are some of the clearest evidence of storm impact.
-
Vents, skylights, and penetrations. Damage around penetrations is a common source of leaks. Photograph each one individually, with both an overview shot and a close-up.
-
Ground debris. Photograph shingle granules in gutters and downspout discharge areas, broken shingle pieces on the ground, and any fallen branches near the structure.
-
Interior ceiling and attic shots. Go inside and photograph any water stains on ceilings. Then go into the attic and photograph the area directly above each stain. Pairing interior and attic photos creates an undeniable leak path that reduces adjuster disputes over water intrusion claims.
-
Video walkthrough. Record a 2–3 minute video narrating what you see as you walk the perimeter. Speak the date, your address, and describe each damage area out loud. Video captures continuity that still photos miss.
| Documentation element | Purpose | Minimum count |
|---|---|---|
| Wide establishing shots | Show full roof and property context | 4 (one per corner) |
| Slope overview shots | Organize evidence by roof section | 1 per slope |
| Close-up damage shots | Show specific damage details | 5–10 per damaged slope |
| Soft metal surface shots | Prove hail or wind impact | 1 per metal component |
| Interior and attic shots | Establish leak paths | 2 per stain location |
| Video walkthrough | Provide narrative continuity | 1 video, 2–3 minutes |
Pro Tip: Photograph a ruler or coin next to hail dents on soft metals. Scale references make dent size undeniable in the claim file.
How to organize and label your photos for an insurance claim
A disorganized photo set hurts your claim almost as much as no photos at all. Insurance adjusters typically spend only 15–20 minutes reviewing a claim file. That means your evidence needs to communicate clearly on its own, without explanation.
File naming and organization:
- Rename every photo before submitting. Use a consistent format: Direction-Component-Damage. For example: West-Slope-Shingle-Missing, North-Gutter-Hail-Dent, Attic-Above-Master-Bedroom-Leak. Consistent file naming signals professionalism and discourages insurers from underestimating your claim.
- Group photos into folders by location: exterior slopes, gutters and flashings, penetrations, interior and attic.
- Create a written damage log. List each damage item with its location, a factual description, and the corresponding photo file name.
Writing damage descriptions that hold up:
Objective language protects your claim. Descriptions like "shingles missing on west-facing slope" carry far more weight than "roof is ruined." Adjusters and contractors use your notes to establish causation. Vague or emotional language gives them room to dispute your account.
Avoid: "The roof looks terrible and is definitely destroyed." Use instead: "Three shingles absent from west slope, rows 4–6 from ridge. Exposed felt visible."
Submitting your documentation:
Submit your photo packet to your insurer immediately after filing the claim, referencing your claim number in the submission. Early submission creates a timestamped record that supports your position if the adjuster's inspection misses damage. Attach the NOAA storm event report for your date and location alongside your photos.
Pro Tip: Keep a personal copy of everything you submit, including the submission date and the name of the person you spoke with. That record protects you if the claim file is disputed later.
Common mistakes that weaken your documentation
Most homeowners make at least one of these errors. Each one can cost you money or delay your claim.
- Climbing on the roof before a professional inspection. Ground-level documentation guides professionals toward hidden damage safely. Walking a damaged roof risks injury and can disturb evidence.
- Taking too few photos. A handful of shots leaves gaps that adjusters fill with assumptions. Aim for the 40-photo minimum as a floor, not a ceiling.
- Blurry or poorly lit photos. Shoot in daylight. Tap the screen to focus before each shot. Blurry images are unusable as evidence.
- Skipping interior documentation. Water stains on ceilings are direct evidence of roof failure. Homeowners who skip interior shots lose the ability to claim interior damage.
- Waiting too long. Secondary damage, such as mold or additional water intrusion, can develop within days. Document immediately after the storm passes and conditions are safe.
- Using vague or emotional language in notes. Avoid interpretive descriptions. Stick to factual observations that a contractor or adjuster can verify independently.
"The homeowner's role is primarily ground-level photo mapping to direct professionals toward critical hidden damage safely." This principle keeps you safe and keeps your evidence intact.
For a deeper look at what a formal assessment covers beyond photos, the storm damage roof assessment guide explains what licensed inspectors evaluate that homeowners typically miss.
Key Takeaways
Thorough, organized photo documentation submitted immediately after a storm is the single most effective action a homeowner can take to protect their insurance claim and repair outcome.
| Point | Details |
|---|---|
| Start with NOAA records | Pull official storm event data before contacting your insurer to tie damage to a specific event. |
| Shoot 40+ photos systematically | Cover every slope, soft metal surface, penetration, and interior stain with both overview and close-up shots. |
| Name files consistently | Use Direction-Component-Damage naming to signal professionalism and prevent claim undervaluation. |
| Use objective language | Write factual damage descriptions; vague or emotional notes reduce credibility with adjusters. |
| Submit promptly with claim number | Early submission creates a timestamped record that protects you if the adjuster misses damage. |
What I've learned from watching homeowners document damage
After years of working storm damage cases in Chattanooga, the pattern I see most often is this: homeowners either take too few photos or take plenty of photos with no organization. Both outcomes hurt the claim. An adjuster who opens a folder of 80 randomly named images labeled "IMG_4421" through "IMG_4501" will not spend time sorting them. The claim gets undervalued, and the homeowner never knows why.
The step that surprises most people is the interior documentation. Homeowners focus entirely on the roof surface and forget that a ceiling water stain, paired with an attic shot directly above it, is some of the strongest evidence in a claim file. That pairing removes all ambiguity about where the water entered. I have seen claims move from disputed to approved simply because a homeowner had those two shots.
The other shift I have noticed heading into 2026 is how much weight insurers place on NOAA storm event records. A few years ago, homeowners rarely included them. Now, adjusters expect them. If your photos show damage but you cannot tie it to a specific storm date with an official record, the insurer has grounds to call it pre-existing. That one document changes the entire conversation.
My honest advice: treat your photo set like a legal exhibit, not a snapshot album. Label everything, write factual notes, and submit the same day you file. The homeowners who do that consistently get better outcomes. The ones who send a few blurry photos and wait a week consistently do not.
For a full breakdown of what to expect after you submit, the 2026 storm damage claim guide walks through the adjuster process step by step.
— Steve
Chattanoogaroofrepairs is ready to help after the storm
When a storm hits Chattanooga, the hours right after matter most. Chattanoogaroofrepairs provides same-day tarping, comprehensive 21-point inspections, and expert guidance on storm and hail damage repair for homeowners across the Chattanooga area. Our team uses GAF and Owens Corning materials, carries full licensing and insurance, and gives you transparent pricing with no pressure.

If you have questions about what your photos show or want a professional assessment alongside your own documentation, contact Chattanoogaroofrepairs for a free, no-obligation inspection. We will tell you exactly what we find, in plain language, and help you build the strongest possible case with your insurer.
FAQ
How many photos do I need for a storm damage claim?
A complete documentation packet requires 40 to 100+ photos covering every slope, soft metal surface, penetration, and interior damage area. More photos with clear organization always outperform fewer photos with no structure.
Is it safe to climb on my roof to take damage photos?
No. Ground-level documentation is both safer and sufficient for homeowner evidence. A licensed inspector should assess the roof surface directly before any repairs begin.
What is the NOAA Storm Events Database and why does it matter?
The NOAA Storm Events Database is a government record of storm events by date and location. Including it with your claim prevents insurers from attributing damage to pre-existing conditions rather than the storm.
How should I name my roof damage photo files?
Use a Direction-Component-Damage format, such as West-Slope-Shingle-Missing or North-Gutter-Hail-Dent. Consistent naming converts a chaotic photo set into professional, insurance-ready evidence.
When should I submit my documentation to my insurer?
Submit your photos, written damage log, and NOAA storm report immediately after filing the claim. Early submission with your claim number creates a timestamped record that protects you if the adjuster's inspection is incomplete.