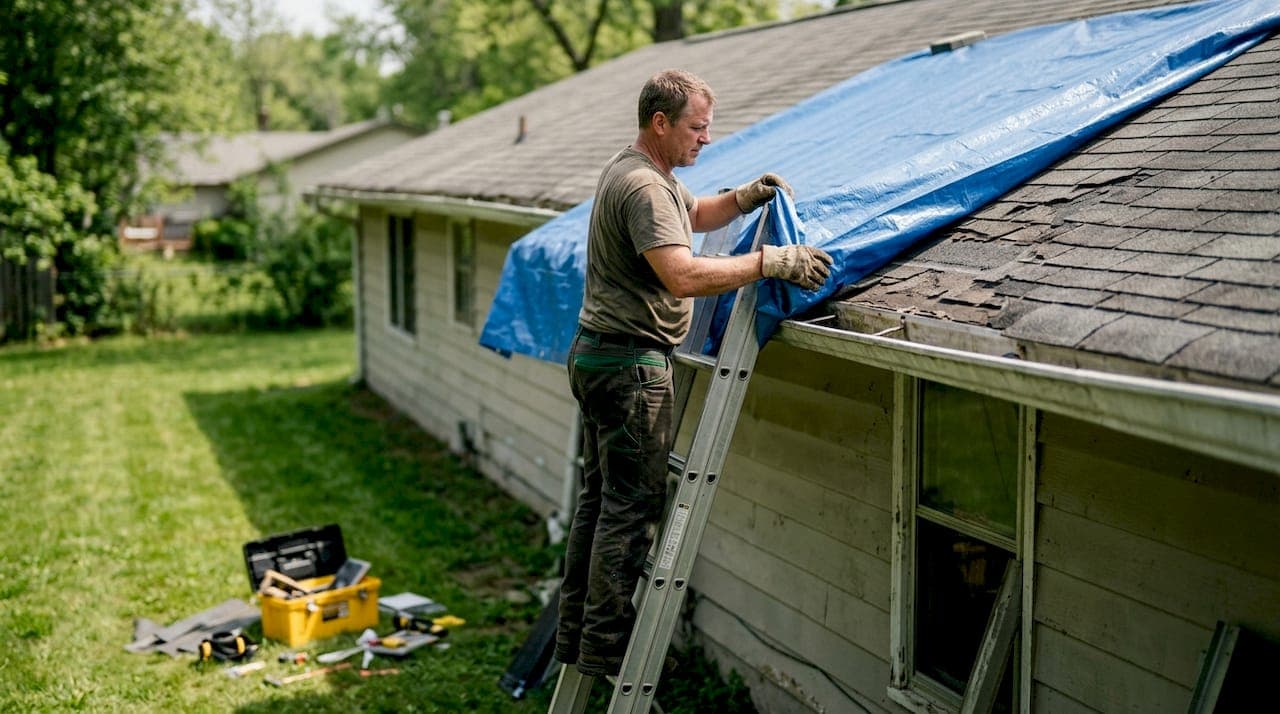
A temporary roof leak fix is defined as a short-term repair method, such as tarping or roofing cement patching, that stops active water intrusion until a licensed professional can make a permanent repair. Storm damage rarely gives you advance warning, and every minute water enters your home increases the risk of structural damage, mold, and costly repairs. This temporary roof leak fix guide walks you through the tools you need, how to contain water inside, how to apply exterior patches safely, and what mistakes to avoid. Acting fast and smart protects your home and your insurance claim.
What tools and materials do you need for a temporary roof leak fix?
The right materials make the difference between a patch that holds and one that fails overnight. Before you touch the roof or start collecting buckets, gather everything listed below.
Essential materials checklist:
- Heavy-duty polyethylene tarp (6 mil thickness or greater, sized to extend at least 4 feet past the damaged area on all sides)
- Roofing cement or rubberized roof sealant (available at any hardware store)
- Wood furring strips (1x4 or 2x4 boards) and exterior-grade screws
- Buckets, plastic sheeting, and old towels for interior containment
- A sturdy extension ladder rated for your weight plus tools
- Safety gloves, non-slip rubber-soled boots, and a safety harness if available
- A flashlight or headlamp for attic inspection
| Tool or Material | Purpose |
|---|---|
| 6 mil polyethylene tarp | Covers damaged roof area and redirects water runoff |
| Wood furring strips and screws | Secures tarp to roof framing without wind uplift |
| Roofing cement or sealant | Seals small cracks, holes, or lifted shingles |
| Buckets and plastic sheeting | Collects and redirects interior drips |
| Non-slip boots and gloves | Protects you from falls and cuts on the roof |
Pro Tip: Buy a tarp at least 4 feet wider and longer than the damaged area. A tarp that is too small shifts in wind and leaves edges exposed.
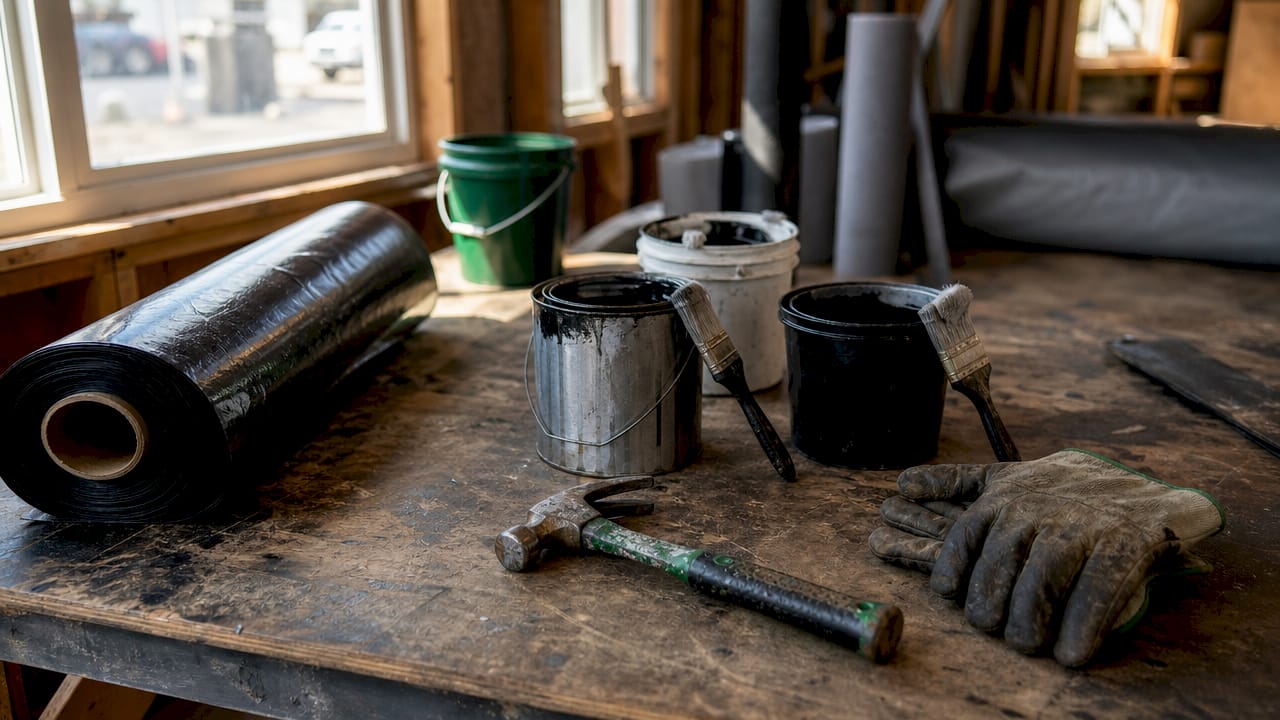
Roofing cement is the industry standard for small-hole patching on asphalt shingles. It bonds to dry surfaces and patches last months before needing professional follow-up. That said, no sealant replaces a proper repair by a certified roofer.
How do you safely assess and contain an active roof leak inside your home?
Interior containment is your first job, not climbing on the roof. Getting water under control inside your home limits damage to floors, walls, and valuables while you prepare for exterior work.
Follow these steps in order:
- Turn off electricity in affected rooms. Water and live circuits are a deadly combination. Flip the breaker for any room where water is dripping or pooling before you do anything else.
- Locate the drip source from inside. Go to the attic with a flashlight. Water travels along rafters before it drips, so the wet spot on your ceiling is rarely directly below the actual roof failure. Look for wet insulation, dark staining, or "shiners," which are nails whitened by moisture exposure, to find the true entry point.
- Place buckets under active drips. Line the floor with plastic sheeting first, then set buckets on top. This protects hardwood floors and makes cleanup faster.
- Poke a small hole in any bulging ceiling. A ceiling that sags and bulges is holding gallons of water. A controlled drain hole costs almost nothing. Letting it collapse can cost thousands in repairs. Use a screwdriver and aim into a bucket.
- Move furniture and valuables out of the affected area. Electronics, documents, and upholstered furniture absorb water fast. Get them out before they are ruined.
- Document everything with your phone. Take time-stamped photos and videos of every drip, stain, and damaged item. Thorough documentation before any cleanup is required for most insurance claims.
"The drip you see on your ceiling is almost never where the roof is actually failing. Water moves sideways along framing for several feet before it drops. Never assume the leak is directly above the wet spot."
Pro Tip: Use a permanent marker to circle the wet spots on your ceiling before you start cleanup. This helps the inspector find the damage path later.
Good roof damage documentation protects you financially. Insurance adjusters rely on pre-repair photos to approve claims. Skip this step and you may lose coverage for damage that was clearly storm-related.
What are the step-by-step methods for applying temporary patches on the roof?
Exterior patching is only safe under specific conditions. The wrong timing turns a repair attempt into an emergency room visit.
When is it safe to go on the roof?
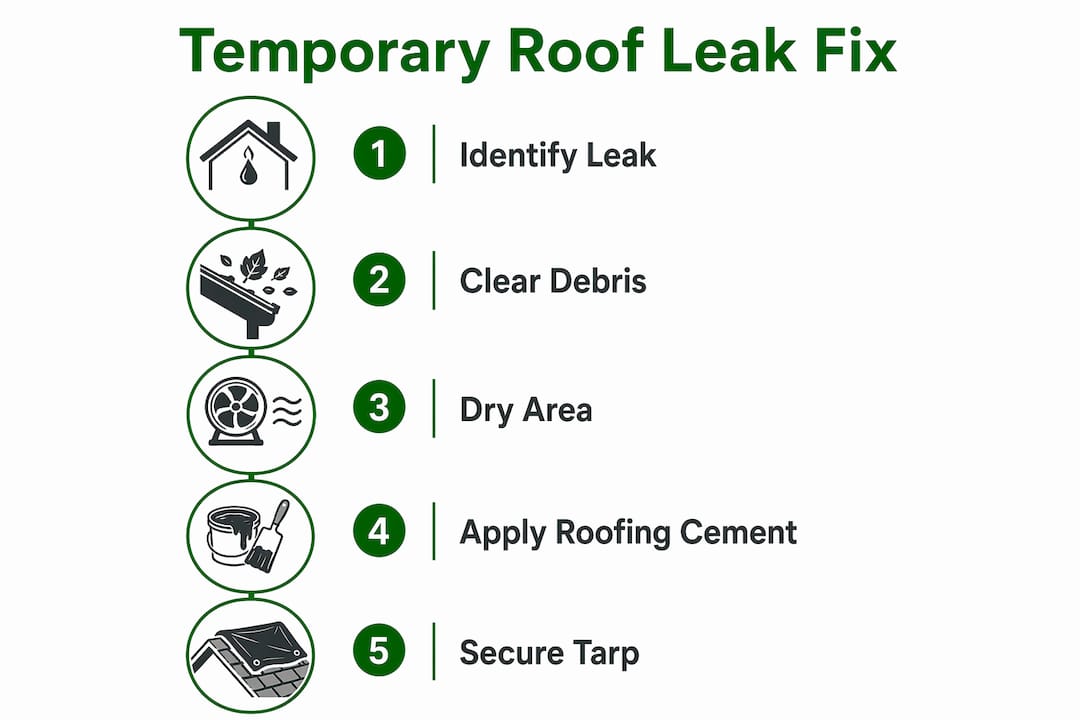
Climb on the roof only when all of these conditions are true: it is daylight, the weather is dry, winds are calm, and the roof pitch is shallow enough to walk without sliding. Never access the roof during rain, high winds, or darkness. The risk of injury far outweighs any benefit from a rushed temporary fix.
Method 1: Tarp installation (best for large damaged areas)
- Measure the damaged area and cut or unfold a tarp that extends at least 4 feet past the damage on every side, including over the roof ridge.
- Lay the tarp flat over the damaged section. Pull it tight so no pockets form where water can pool.
- Place a wood furring strip along each edge of the tarp. Screw the strips through the tarp and into the roof decking or framing below.
- Run an additional furring strip along the top edge and wrap the tarp over the ridge, securing it on the opposite side as well.
Wood furring strips and screws are the only reliable fastening method. Bricks trap water under the tarp. Bungee cords snap in wind. Duct tape fails within hours on a wet surface. Tarps secured this way typically last 30–90 days, but professional repair should follow within 48–72 hours.
Method 2: Roofing cement patch (best for small cracks or lifted shingles)
- Wait for the surface to dry completely. Roofing cement does not bond to wet surfaces.
- Press any lifted shingles flat and apply roofing cement underneath with a putty knife.
- Spread a generous layer of cement over the crack or hole, feathering the edges outward by at least 2 inches.
- Press a piece of fiberglass mesh into the wet cement for added strength on larger gaps, then apply a second coat over the mesh.
Method 3: Interior tarp method (when roof access is unsafe)
If conditions prevent safe roof access, stretch plastic sheeting or a tarp across the attic floor directly below the leak. Funnel the sheeting into a bucket or toward a drain. This does not stop the leak but protects your ceiling and interior until conditions allow exterior work.
| Method | Best for | Durability | Roof access needed? |
|---|---|---|---|
| Tarp with furring strips | Large or multi-shingle damage | 30–90 days | Yes |
| Roofing cement patch | Small cracks, holes, lifted shingles | Several months | Yes |
| Interior tarp/plastic | Any leak when roof is unsafe to access | Hours to days | No |
Pro Tip: Apply roofing cement only to a bone-dry surface. If the shingles are still damp from rain, wait. A patch applied to a wet surface peels off within days.
What common mistakes and safety risks should you avoid?
Most injuries and worsened damage during emergency roof repairs come from a short list of avoidable errors.
- Going on the roof in bad weather. Rain makes shingles slippery. Wind can knock you off balance. Darkness hides hazards. Safety experts are clear: no temporary repair is worth a fall.
- Using improper tarp fasteners. Bricks, ropes, and bungee cords all fail. Bricks concentrate weight and tear the tarp fabric in wind. Ropes loosen as the tarp shifts. Only wood strips screwed into framing hold reliably.
- Delaying professional repair. A tarp is damage control, not a fix. Waiting weeks or months after applying a temporary patch allows hidden moisture to rot decking and grow mold.
- Attempting permanent repairs without inspection. You cannot see the full extent of storm damage from the surface. A professional 21-point inspection, like the one Chattanoogaroofrepairs provides, reveals damage that is invisible from the ground or even from the roof surface.
- Ignoring electrical hazards. Water conducts electricity. Any leak near a light fixture, outlet, or electrical panel requires you to cut power before doing anything else.
- Trusting the ceiling drip to locate the roof failure. Interior drip location is almost always offset from the actual roof entry point. Guessing and patching the wrong spot wastes time and materials.
"A temporary fix buys you time. It does not buy you safety. Schedule a professional inspection within 48 to 72 hours of applying any patch, regardless of how well it seems to be holding."
Pro Tip: Before climbing, test every rung of your ladder and set it on firm, level ground. A ladder that shifts mid-climb is the most common cause of roofing injuries for homeowners.
How to manage post-fix care: moisture control, documentation, and insurance steps
Applying a patch is only half the job. What you do in the hours and days after determines whether you avoid mold, protect your claim, and get a lasting repair.
- Extract water and dry the area within 24–48 hours. Mold begins growing within 24–48 hours in humid conditions after water intrusion. Use fans, dehumidifiers, and dry towels to pull moisture out of floors, walls, and insulation as fast as possible.
- Take time-stamped photos and videos before any cleanup. Photograph every water stain, damaged item, and affected surface. Insurance claims require this documentation before remediation begins. Do not skip this step even if you are in a hurry.
- Contact your insurance company the same day. Report the damage promptly. Late reporting can complicate or reduce your claim. Ask your insurer what documentation they need and follow their checklist.
- Monitor the temporary patch daily. Check the tarp or cement patch after every rain. Look for shifting, pooling water, or new interior drips. A patch that moves or lifts needs immediate attention.
- Call a water mitigation specialist if soaking is extensive. If water has saturated insulation, subfloor, or drywall, a general cleanup is not enough. Mitigation specialists use moisture meters and industrial drying equipment to prevent hidden mold growth.
- Schedule your professional roof inspection within 48–72 hours. A certified inspector finds damage you cannot see and provides the written report your insurer needs to process your claim.
Key Takeaways
A temporary roof leak fix stops active water intrusion and protects your home, but professional repair within 48–72 hours is required to prevent mold, structural damage, and insurance complications.
| Point | Details |
|---|---|
| Act on interior containment first | Turn off electricity, place buckets, and document damage before going on the roof. |
| Use the right tarp fasteners | Wood furring strips screwed into framing are the only reliable method; avoid bricks, ropes, and duct tape. |
| Never access the roof in bad weather | Rain, wind, and darkness make roof access dangerous; wait for dry, calm, daylight conditions. |
| Document before you clean up | Time-stamped photos and videos taken before any repair are required for insurance claims. |
| Schedule professional repair fast | Temporary patches last weeks to months, but a licensed roofer should inspect within 48–72 hours. |
What I have learned from years of storm season repairs
Working through storm seasons in Chattanooga has taught me one thing above all else: the homeowners who come out ahead financially and structurally are the ones who treat a temporary fix as exactly that. Temporary.
I have seen too many people apply a tarp, feel relieved, and then wait three weeks to call a roofer. By then, the decking under the tarp has started to rot, the insulation is saturated, and what would have been a $400 repair has turned into a $4,000 project. The tarp bought them time they did not use.
The documentation piece is equally underestimated. I cannot count the number of homeowners who cleaned up the water, threw out the damaged items, and then called their insurer with nothing to show for it. Insurance adjusters need to see the damage as it was, not as you left it after cleanup. Your phone camera is your best financial protection tool in the first hour after a leak.
My honest advice: do the interior containment, take the photos, apply the safest exterior patch you can manage, and then call a professional the same day. Treat the temporary fix as damage control, not resolution. The goal is to limit the bleeding until someone qualified can close the wound properly.
— Steve
When to call Chattanoogaroofrepairs for emergency roof leak repair
A temporary patch protects your home right now. What comes next determines whether that protection holds through the next storm.

Chattanoogaroofrepairs provides emergency roof leak repair and same-day tarping for storm-damaged homes across Chattanooga and surrounding areas. Every job starts with a thorough 21-point inspection using certified materials from GAF and Owens Corning, so you know exactly what was damaged and what the fix will cost before any work begins. For homeowners dealing with storm and hail damage, the team also helps document damage for insurance claims with transparent, no-pressure pricing. Call Chattanoogaroofrepairs today to schedule your free emergency inspection and get a permanent solution in place fast.
FAQ
How long does a temporary roof tarp last?
A properly secured tarp lasts 30–90 days, but professional repair should follow within 48–72 hours to prevent structural damage and mold growth.
Can I use roofing cement on a wet roof?
Roofing cement does not bond to wet surfaces. Wait until the shingles are completely dry before applying any sealant or cement patch.
How do I find the actual source of a roof leak?
Check the attic for shiners, which are nails whitened by moisture, and trace wet insulation or staining back toward the roof peak. The drip on your ceiling is rarely directly below the actual entry point.
What should I document for my insurance claim?
Take time-stamped photos and videos of every drip, stain, damaged item, and affected surface before any cleanup or repair. Your insurer needs this evidence to process the claim.
Is it safe to go on the roof during a storm?
Never climb on the roof during rain, high winds, or darkness. The risk of injury outweighs any benefit from a rushed temporary repair. Wait for dry, calm, daytime conditions.