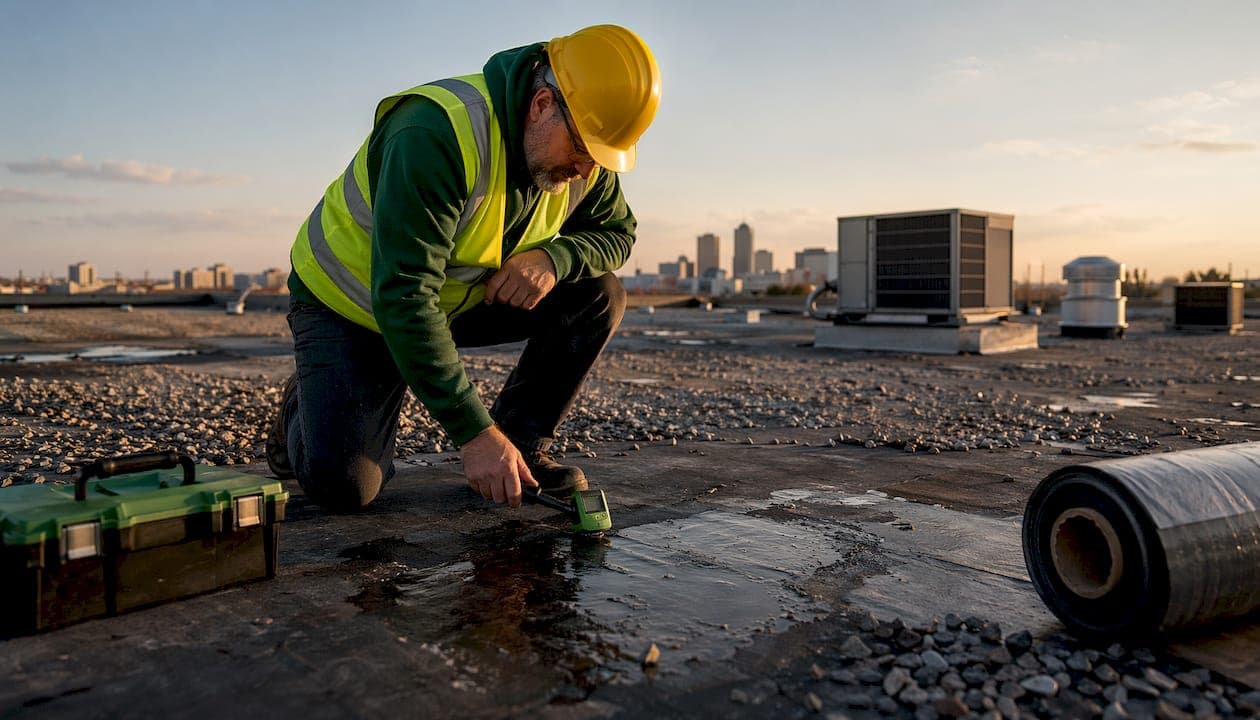
Repairing a flat roof on a commercial building follows a defined sequence: professional inspection using infrared moisture diagnosis, detailed damage assessment, repair method selection based on membrane type, surface preparation, execution with manufacturer-approved materials, and a documented post-repair inspection. The National Roofing Contractors Association (NRCA) sets the industry standard for this process, and skipping any step risks voiding your warranty or missing hidden moisture damage that will cost far more to fix later.
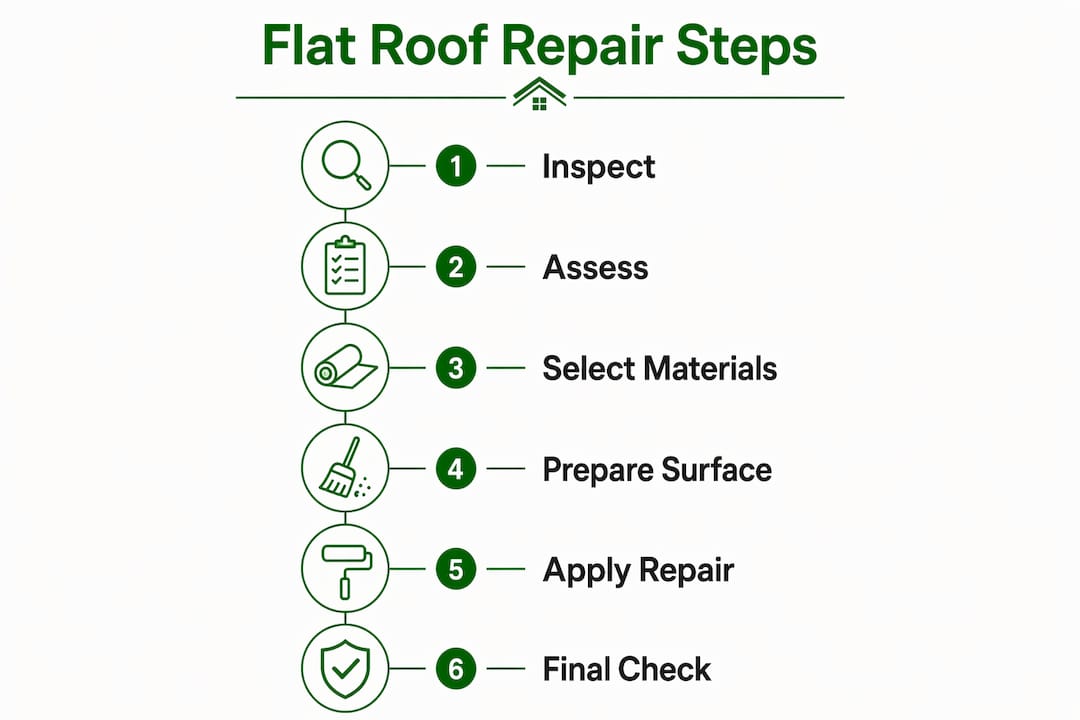
Here is the full workflow at a glance:
- Step 1: Professional inspection — visual assessment plus infrared moisture scanning to locate all damage, including lateral water migration beneath the membrane
- Step 2: Damage assessment and documentation — photograph all findings, measure affected areas, and record membrane type and condition
- Step 3: Repair method and material selection — match the approach to your membrane (EPDM, TPO/PVC, Modified Bitumen, or BUR) and damage severity
- Step 4: Surface preparation — clean, dry, and prime the substrate; remove debris, loose gravel, and compromised material
- Step 5: Repair execution — apply manufacturer-approved patches, welding, or adhesives per the membrane system's specifications
- Step 6: Post-repair inspection and documentation — verify watertightness, collect warranty paperwork, and schedule follow-up maintenance
The sections below cover each stage in depth, including what to look for, what materials to use, what permits you may need, and how to choose a contractor you can trust.
Why regular maintenance is the foundation of flat roof repair
Skipping routine maintenance on a commercial flat roof is one of the most expensive decisions a property owner can make. A membrane separation that costs a few hundred dollars to patch today can escalate to a major interior damage event once water reaches insulation, structural decking, and electrical systems below. Proper maintenance can significantly extend a commercial roofing system's lifespan, according to NRCA guidance.
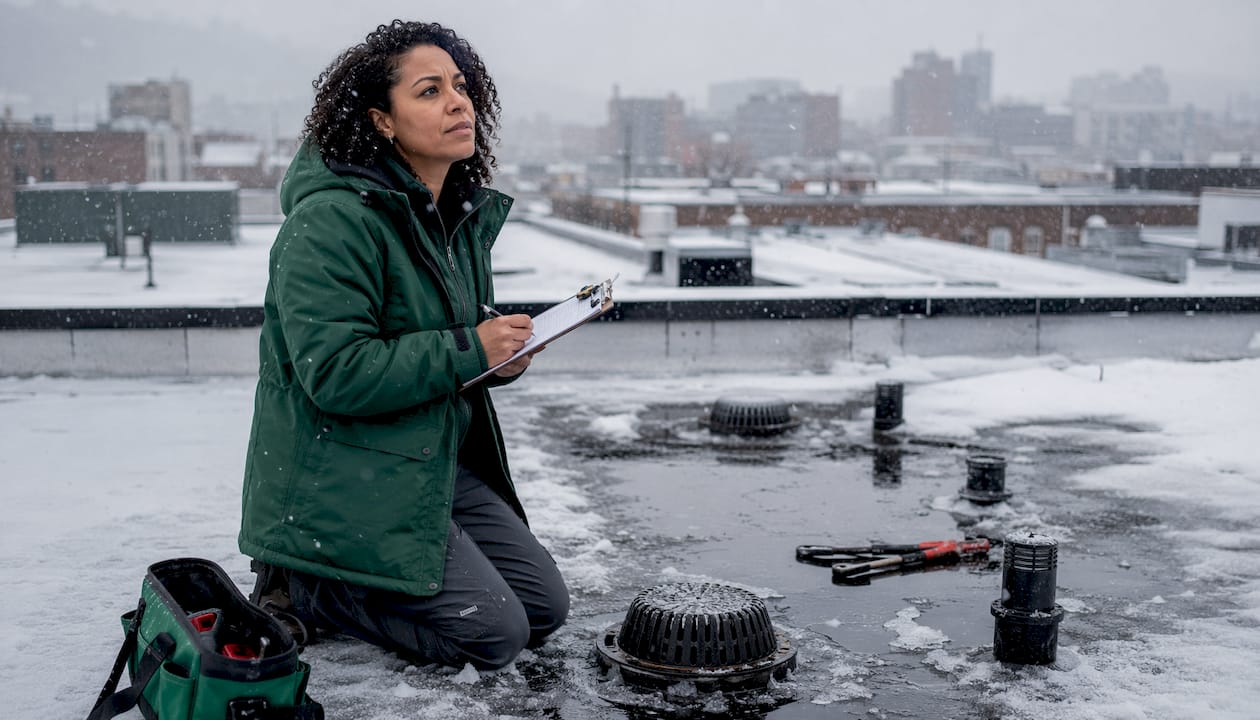
The NRCA recommends two professional inspections per year, ideally scheduled in spring and fall. The spring visit catches damage from freeze-thaw cycles, ice dams, and thermal shock. The fall visit clears drains, reseals compromised flashings, and prepares the system for winter loads. Beyond those scheduled visits, documented inspection history has become a practical insurance requirement: in 2026, many carriers reduce or deny storm damage claims when no biannual inspection records exist.
Routine maintenance tasks that directly reduce leak risk include:
- Clearing all drains, scuppers, and gutters of debris at least twice per year
- Inspecting and resealing flashing at penetrations, curbs, and parapet walls
- Removing standing water promptly and addressing drainage deficiencies
- Patching minor membrane punctures before they allow water to reach insulation
- Logging all repairs with photos, dates, and materials used
Ponding water is the single most destructive force on a flat commercial roof. Water standing for more than 48 hours after rain accelerates membrane aging, adds structural load, and creates leak paths at every seam it contacts. A pond of typical dimensions on a flat roof can impose substantial additional weight to the structure. Treating commercial roof maintenance as ongoing asset management rather than a one-time fix is what separates roofs that reach 30 years from those that fail at 12.
How do you conduct a thorough commercial flat roof inspection?
A professional commercial roof inspection is not a casual walk-around. It is a systematic evaluation of every component in the roofing assembly, and it starts before anyone sets foot on the membrane.
The inspection sequence covers eight distinct areas:
- Membrane condition — check for blistering, ridging, punctures, UV degradation, surface erosion, and exposed reinforcement; on single-ply systems, verify membrane thickness in high-traffic zones
- Seams and laps — probe heat-welded seams (TPO, PVC) for edge lift; check adhesive seams (EPDM) for separation and tape delamination; an open seam is an active or imminent leak
- Flashings — examine base flashings, counter flashings, and equipment curb flashings for separation, cracking, or exposed substrate; flashings are the most failure-prone component on any commercial roof
- Drainage — clear and flow-test all drains, scuppers, and downspouts; clogged drains are the leading preventable cause of ponding and accelerated membrane deterioration
- Penetrations — inspect every pipe boot, pitch pocket, and sealant detail around HVAC units, vents, and conduits
- Parapet walls and coping — check for uplift, joint failure, and water entry paths at perimeter edges
- Interior evidence — look for ceiling stains, wall moisture near penetrations, and musty odors; interior signs often reveal active infiltration that surface inspection alone cannot locate
- Insulation condition — use infrared thermal scanning to identify moisture-saturated insulation invisible to the naked eye
Infrared scanning is particularly valuable on flat roofs because leaks travel laterally far from the actual membrane breach. Water migrates between membrane layers, so the ceiling stain you see inside may be 10 feet from where the roof is actually failing. A thermal survey locates the true breach and prevents unnecessary tear-out.
Pro Tip: Map ponding water locations during the inspection and trace drainage paths back to each drain. If water consistently pools in the same spot after rain, the drain is either clogged or the roof slope is insufficient. Fix the drainage problem first; patching a leak inside a pond guarantees a return visit.
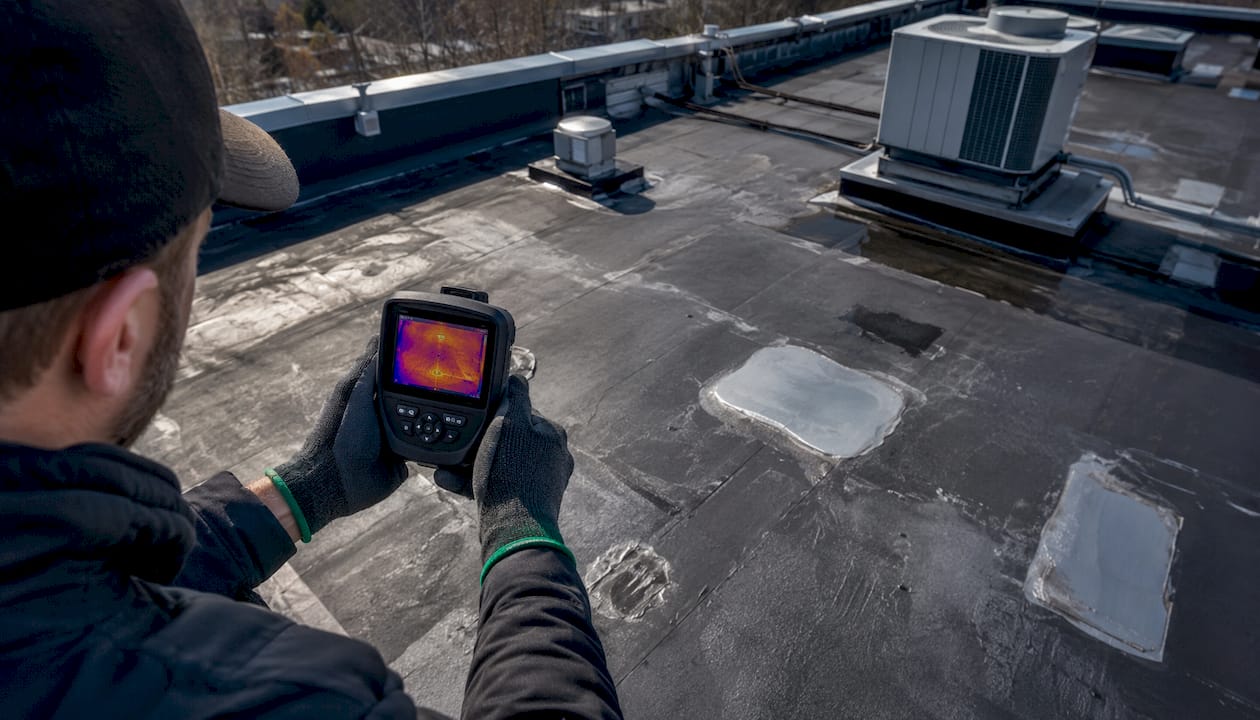
Triggered inspections should follow any severe weather event (sustained winds above 55 mph, hail exceeding 1 inch, or heavy snowfall), any rooftop equipment installation by non-roofing trades, any tenant-reported interior leak, and before property sales or refinancing. Thorough photo documentation from every inspection supports both warranty compliance and insurance claims. For best practices on organizing those records, the roof repair documentation guide from Chattanoogaroofrepairs covers exactly what to keep and how to store it.
What are the most common signs and causes of flat roof damage?
Catching damage early is the difference between a $400 patch and a $40,000 remediation. Most flat roof failures give visible warning signs well before water reaches the interior.
Visual signs that require immediate attention:
- Standing water still present 48 hours after rain
- Blistering or bubbling on the membrane surface (trapped air or moisture expanding in heat)
- Seam separation or open laps on single-ply systems
- Cracks, alligatoring, or surface crazing on aged asphalt surfaces
- Punctures from dropped tools, foot traffic, or wind-blown debris
- Flashing pulling away from walls, curbs, or penetrations
- Sudden increase in energy costs (often signals wet, compressed insulation losing R-value)
The underlying causes fall into a few consistent categories. Drainage failure is the most common root cause: flat roofs lacking adequate drainage design fail prematurely because ponding water creates both structural load and chemical stress that accelerates seam and flashing deterioration. UV degradation breaks down membrane surfaces over time, particularly on EPDM and modified bitumen systems without protective coatings. Thermal cycling, the daily expansion and contraction of the membrane, stresses adhesive seams and flashing terminations more than any other mechanical force. Rooftop equipment service traffic by HVAC technicians and other non-roofing trades is the leading cause of accidental punctures on commercial buildings.
Seam and flashing failures account for roughly 90% of flat roof leaks, a figure that explains why inspectors probe every accessible seam rather than just scanning the field membrane. Chemical incompatibility is a less obvious but equally destructive cause: petroleum-based products permanently degrade EPDM rubber membranes, and using the wrong repair material on the wrong system can cause irreversible damage that voids the warranty and requires full replacement.
What are the step-by-step repair methods for commercial flat roofs?
The repair process follows the same six-step framework regardless of membrane type, but the materials and techniques vary significantly by system. Getting the match right is what determines whether a repair lasts two years or twenty.
The repair sequence:
- Substrate preparation — remove debris, gravel, and loose material; clean the repair area with the appropriate membrane-specific cleaner; allow the surface to dry completely before applying any adhesive or patch
- Damage cut-out — for blisters, cut open the bubble, dry the substrate, and remove any saturated insulation before patching; for punctures, cut back to sound membrane
- Patch sizing — cut the patch to extend at least 2–3 inches beyond the damage in all directions; round the corners to prevent edge lifting over time
- Adhesive or welding application — apply per the membrane manufacturer's specifications (detailed by system below)
- Rolling and sealing — press the patch firmly with a roofing roller, working from center outward to eliminate air pockets; seal all edges with compatible lap sealant
- Post-repair testing — test with water or infrared tools after curing; conduct a second check after the next rainfall
Repair methods by membrane type
EPDM: Clean with EPDM-specific cleaner to remove oils and oxidation. Apply peel-and-stick cured cover tape, rolling firmly. Use uncured flashing material at corners and penetrations. For seam repairs, apply new bonding adhesive or permanent-rated EPDM seam tape and use a seam roller for full contact.
TPO and PVC: These thermoplastic systems require hot-air welding. Clean both surfaces with the appropriate membrane cleaner, cut a matching-thickness patch, and fuse it to the existing membrane using a hot-air welder. TPO welds at approximately 500°F; PVC typically requires 450–550°F depending on membrane thickness. A silicone roller pressed while the material is hot creates a molecular bond that, done correctly, outlasts the surrounding sheet. Seam repairs follow the same welding process.
Modified Bitumen: Small blisters can be cut open, dried, filled with roofing cement, and pressed flat, then covered with a torch-applied or self-adhered mod-bit patch extending at least 6 inches beyond the repair. Use cold-process adhesives where torching is unsafe.
BUR (Built-Up Roofing): Remove gravel, cut out damaged plies, fill with plastic roof cement and reinforcing felts in alternating layers, then resurface to match the existing system. Matching the ply count of the original system is critical; a 3-ply BUR repair will not perform correctly if only 2 plies are installed.
Pro Tip: Never use asphalt mastic or petroleum-based products on EPDM membranes. Petroleum products degrade EPDM rubber irreversibly, turning a patchable repair into a full membrane replacement. Always verify chemical compatibility against the membrane manufacturer's specifications before applying any repair product.
When damage covers a large area or multiple failure points cluster in the same zone, partial membrane replacement is more cost-effective than multiple patches. The threshold most contractors use: if repair costs approach half of replacement cost, or the roof is near the end of its expected service life, replacement delivers better long-term value. GAF and Owens Corning both publish system-specific repair guidelines that specify approved materials and installation methods for their warranted products. Using those approved materials is the only way to preserve a manufacturer-backed warranty.
Heat-welded repairs on TPO and PVC are not DIY projects. Professional roofers invest in commercial-grade hot-air welding equipment and spend years developing consistent technique. Attempting these repairs without proper equipment produces welds that look complete but fail under thermal cycling. For temporary leak control while scheduling permanent repairs, the temporary roof leak guide covers the stop-gap measures that protect your interior until conditions allow proper work.
What permits and approvals do commercial flat roof repairs require?
Permit requirements for commercial flat roof repairs vary by municipality, but the general rule is straightforward: the larger and more extensive the repair, the more likely a permit is required. Consulting your local building department before work begins is always the right first step.
Key regulatory considerations include:
- Repair scope thresholds — local building codes in many jurisdictions require a full re-roofing permit and compliance with current energy efficiency standards when repairs exceed a defined percentage of the roof area within a 12-month period; California's Title 24 is one well-documented example of this type of threshold requirement
- Cool roof requirements — energy codes in several states mandate minimum solar reflectance index (SRI) values for commercial roofing materials; repairs that trigger re-roofing compliance may require installation of reflective membranes or coatings
- OSHA fall protection — under 29 CFR 1926, rooftop workers must have fall protection for work above 6 feet; on flat commercial roofs with parapets or rooftop equipment, this typically means guardrails, personal fall arrest systems, or safety monitoring systems
- Municipal stormwater requirements — some jurisdictions require drainage solutions that prevent ponding as a condition of repair permits, particularly in areas with stormwater management ordinances
- Warranty documentation — most manufacturer system warranties require that all repairs be performed by certified applicators; permit documentation and contractor credentials are often required to validate warranty claims after repair
The permit process typically involves submitting a scope-of-work description, material specifications, and sometimes engineered drawings to the local building department, followed by a municipal inspection after completion. Keep copies of all permit approvals, inspection sign-offs, and contractor certifications in your roof file. This documentation matters for insurance claims and future property transactions. Knowing how roof condition affects business insurance costs can also help you frame the permit investment as part of a broader risk management strategy.
How much does commercial flat roof repair cost, and how long does it take?
Repair costs on commercial flat roofs range widely depending on damage extent, membrane type, roof size, and labor complexity. Repair costs vary depending on damage extent and membrane type, with minor repairs generally less expensive, while extensive repairs and drainage corrections are more costly.
Specific cost drivers include:
- Damage extent — a single puncture patch is a fraction of the cost of widespread seam failure across 500 square feet
- Membrane type — TPO and PVC repairs require specialized welding equipment and trained labor, which adds cost compared to EPDM adhesive patches
- Drainage corrections — installing tapered insulation crickets to re-slope chronic low spots runs $1,500–$5,000 per area; adding new drains or scuppers costs $2,500–$7,500 each installed
- Emergency premium — emergency roof repairs carry a 4–5x cost premium over planned repairs; a repair that costs $400 on a scheduled visit can run $1,600–$2,000 as an emergency call
- Inspection costs — A professional commercial roof inspection generally costs between $200 and $800 per visit, varying by roof size and system type; for flat roofs, the typical price falls in the $0.05 to $0.10 per square foot range.
Timeline depends on repair complexity. Minor patches on EPDM or modified bitumen can be completed in a few hours. Moderate repairs involving multiple seams or flashing replacement typically take one full day. Extensive repairs or drainage corrections requiring tapered insulation installation may run two days or more. Weather is a real constraint: adhesives and tapes have minimum application temperatures of roughly 40–50°F, and water-based coatings cannot be applied near freezing.
Early intervention consistently delivers the best financial outcome. A $400 repair addressed promptly prevents the $10,000–$40,000 interior damage event that follows when water reaches insulation and structural decking. Deferring maintenance does not save money; it converts a repair budget into a replacement budget.
Expert insights from Chattanoogaroofrepairs on professional repairs
The most experienced commercial roofing professionals treat roof maintenance as asset management, not a reactive repair service. Every inspection, every repair record, and every documented drainage correction builds a history that protects your building's value and your insurance coverage.
Key insights from the field:
- Documented maintenance protects insurance claims. Carriers increasingly require biannual inspection records as a condition of storm damage coverage. A single undocumented gap in your inspection history can reduce or eliminate a claim payout.
- Drainage design determines roof lifespan. A well-maintained membrane on a poorly drained roof will still fail prematurely. Addressing slope and drain capacity is as important as patching the membrane.
- Unauthorized repairs create compounding liability. DIY repairs using non-compatible materials void manufacturer warranties and can cause damage that costs more to fix than the original problem. The only safe in-house tasks are clearing drains, photographing damage, and placing temporary protection.
- Certified materials and installers are not optional for warranted roofs. GAF and Owens Corning system warranties require certified applicators and approved materials. Using off-spec products to save money on a repair can invalidate a warranty worth tens of thousands of dollars.
- Recurring repairs in the same area signal a root cause that was never fixed. Three patches in one zone over two years means the underlying drainage, flashing, or substrate issue was never addressed. A professional assessment of the pattern saves money over continued spot repairs.
Chattanoogaroofrepairs brings certified expertise and manufacturer-approved materials from GAF and Owens Corning to every commercial project. Our 21-point inspection process covers every component in the roofing assembly, and our repair documentation gives you the records you need for warranty compliance and insurance claims. We respond quickly, price transparently, and never recommend work that is not needed.
Pro Tip: Schedule your biannual inspections in writing and keep the reports in a dedicated roof file for each building. Insurance adjusters and warranty administrators both ask for this documentation, and having it organized before a claim event removes weeks of delay from the resolution process.
Choosing the right roofing contractor for commercial flat roof repairs
The contractor you choose determines whether your repair lasts or fails within a season. Credentials matter, but so does how a contractor communicates and documents their work.
Evaluation criteria for commercial roofing contractors:
- Licensed and insured in your state, with verifiable credentials
- Manufacturer certifications for the membrane system on your building (GAF, Owens Corning, or the relevant system manufacturer)
- Experience with your specific membrane type: EPDM, TPO, PVC, Modified Bitumen, or BUR
- Written scope of work before any repair begins, including materials specified by brand and product name
- Post-repair documentation package: photos, warranty paperwork, and inspection sign-off
- References from comparable commercial properties in your area
Red flags to watch for:
- Pressure to approve repairs immediately without a written assessment
- Vague material descriptions ("standard roofing material" rather than named products)
- No mention of manufacturer certifications or warranty compliance
- Unwillingness to provide documentation after the repair
- Pricing that seems unusually low for the scope described
The safe division of labor on a warrantied commercial roof is clear: building staff can clear drains, photograph damage, and place temporary protection. Everything that touches the membrane goes to a certified, approved installer. That boundary protects your warranty and your building.
Key Takeaways
Proper commercial flat roof repair follows a documented six-step process, and according to NRCA guidance, regular biannual maintenance and inspection can extend a commercial roofing system's lifespan by 25–50%.
| Point | Details |
|---|---|
| Follow the six-step repair process | Inspect, assess, select materials, prepare surface, execute repairs, then document the post-repair inspection. |
| Schedule biannual inspections | NRCA recommends spring and fall inspections; documented records protect insurance claims and warranty coverage. |
| Match repair materials to membrane type | EPDM uses adhesive patches, TPO/PVC requires hot-air welding, and Modified Bitumen uses torch or cold-adhesive patches. |
| Address drainage before patching | Fixing a leak inside a ponding zone without correcting drainage guarantees a repeat failure. |
| Use certified contractors and approved materials | DIY repairs with non-compatible products void manufacturer warranties and can cause irreversible membrane damage. |
Chattanoogaroofrepairs is ready to protect your commercial roof
Your commercial roof is one of the most valuable systems on your property. When it needs attention, you want a team that shows up prepared, uses the right materials, and leaves you with documentation you can actually use.
Chattanoogaroofrepairs serves commercial property owners and managers throughout Chattanooga and the surrounding region with certified repairs, manufacturer-approved materials from GAF and Owens Corning, and transparent pricing from the first call. Our 21-point inspection process covers every component, and we provide complete repair documentation for warranty and insurance purposes.
Whether you need a professional leak repair or want to address drainage issues before they become a bigger problem, our team is ready to help. We also offer gutter installation and repair to keep water moving off your roof and away from your building. Contact Chattanoogaroofrepairs today for a no-pressure assessment and a written estimate.