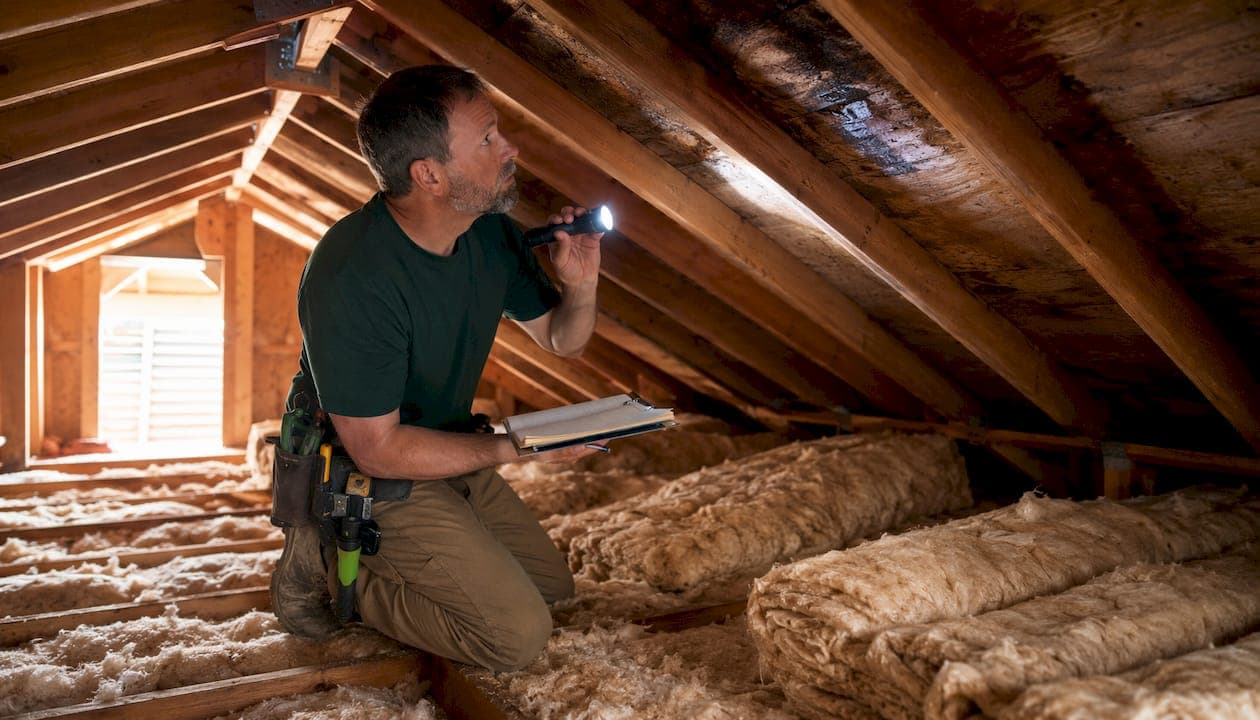
Yes, fixing a leaking roof quickly prevents mold by cutting off the moisture source before spores can establish. EPA guidance is direct: dry water-damaged areas within 24–48 hours to prevent mold growth. Once that window closes, colonization of wood sheathing, drywall, and insulation can begin, and what started as a repair job becomes a remediation project. The NRCA recommends biannual inspections to catch damage before leaks create moisture-prone conditions inside your home.
If you've found a leak or storm damage, take these three steps right now:
- Cover the breach. A heavy-duty tarp secured over the damaged area limits new water entry until a roofer arrives. See our temporary roof leak fix guide for safe DIY steps.
- Document everything. Photograph the damage, any staining, and the roof exterior before touching anything. This protects your insurance claim.
- Call a licensed roofer. The longer the leak runs, the closer you get to that 24–48-hour threshold. Same-day tarping is available when you need it fast.
Table of Contents
- Why mold appears so fast after a roof leak
- How to spot roof-leak-related mold in your attic, ceiling, and walls
- How fixing the roof physically stops mold from forming
- What professional roofers do to stop leaks and lower mold risk
- When to call a pro and how to choose the right roofer
- Maintenance habits that keep roof-related mold from starting
- Why roof repair and mold remediation must happen in the right order
- Key Takeaways
- The repair-first rule matters more than most homeowners realize
- Chattanoogaroofrepairs protects your home from leak-driven mold
- Authoritative sources and further reading
Why mold appears so fast after a roof leak
Moisture is the single controlling factor for mold growth. The EPA is clear that if wet materials are not dried within 24–48 hours, mold growth should be assumed. Understanding the timeline helps you gauge how urgent your situation actually is.
| Time Since Leak | What's Happening | Risk Level |
|---|---|---|
| 0–24 hours | Materials absorb water; spores present but dormant | Moderate — act now |
| 24–48 hours | Germination begins on organic surfaces | High — dry immediately |
| 3–7 days | Visible growth, musty odor likely | Very High — pro remediation likely needed |
| Weeks to months | Structural spread to framing, insulation, drywall | Severe — costly remediation |
Attics are especially vulnerable. Warm air, limited airflow, and surfaces made of wood sheathing, insulation fibers, and rafter boards give mold everything it needs. A roof leak delivers the one missing ingredient: sustained moisture. Combine that with a poorly ventilated attic in a Tennessee summer, and visible growth can appear within days.
The 24–48-hour window is not a guideline — it's a hard biological threshold. Once spores germinate on organic building materials, drying alone won't reverse colonization. You need both drying and remediation at that point.
Severity also depends on which materials got wet. Insulation and drywall are porous and absorb water deeply; they're far harder to dry than exposed wood. A leak that soaks fiberglass batt insulation for two days is a different problem than surface moisture on a painted ceiling. Knowing this helps you explain the situation accurately when you call a contractor.
How to spot roof-leak-related mold in your attic, ceiling, and walls
Visible mold is often a lagging indicator. By the time a ceiling stain appears, mold has frequently already established in hidden cavities above it. Catching it earlier means knowing what to look for beyond the obvious.
Attic warning signs:
- Musty or earthy smell when you open the attic hatch, especially after rain
- Dark staining (black, gray, or greenish) on roof sheathing or rafters
- Damp, compressed, or discolored insulation
- Rust streaks on nail heads or water trails running along rafters
- Condensation on the underside of the roof deck
Interior signs (rooms below the roof):
- Yellow or brown ceiling stains, even small ones
- Paint that bubbles, peels, or blisters without an obvious cause
- A ceiling that feels soft or shows any sagging
- A localized musty smell in one room that doesn't clear with ventilation
Hidden growth cues:
- Odors that appear or worsen after rain, even with no visible staining
- Staining that trails along a rafter line rather than sitting directly below a penetration (water travels horizontally before dripping)
- Wet insulation in one area when the visible leak point is several feet away
The CDC and EPA both note that mold exposure can cause nasal congestion, throat irritation, and respiratory symptoms, particularly for people with allergies or asthma. If household members are experiencing unexplained symptoms and you suspect a roof issue, treat it as urgent.
Pro Tip: Don't rely on smell alone to rule out mold. Attic mold can grow for weeks before the odor migrates into living spaces. After any storm or suspected leak, a quick visual check of the attic is worth the effort — or schedule a professional inspection if attic access is difficult or unsafe.
How fixing the roof physically stops mold from forming
Repairing the roof does more than patch a hole. It interrupts the four conditions mold needs to thrive: moisture, warmth, oxygen, and organic food sources. Remove moisture, and the other three become irrelevant.
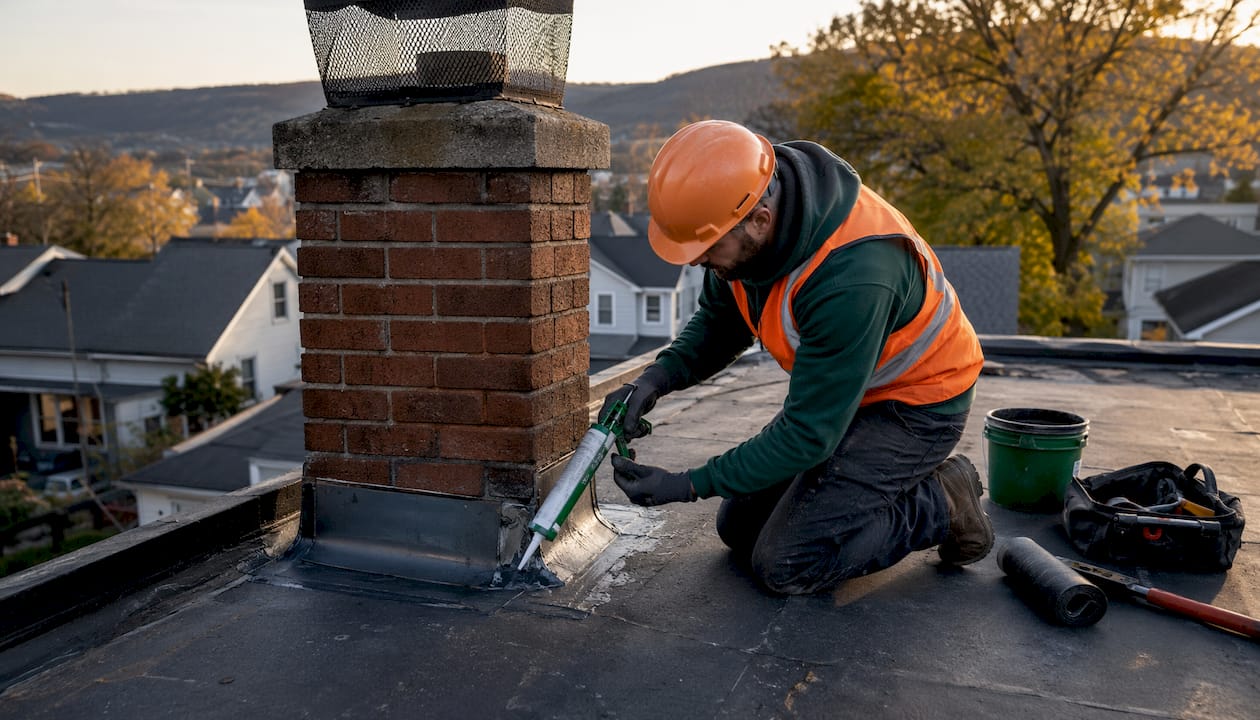
A proper repair targets the actual infiltration points: failed flashing, cracked pipe boots, damaged underlayment, or compromised shingles. Once water can no longer enter, the drying process can begin. Ventilation plays a critical role here. A well-ventilated attic allows residual moisture to dissipate; a blocked or undersized ventilation system traps humidity even after the leak is sealed, which can sustain mold conditions for weeks.
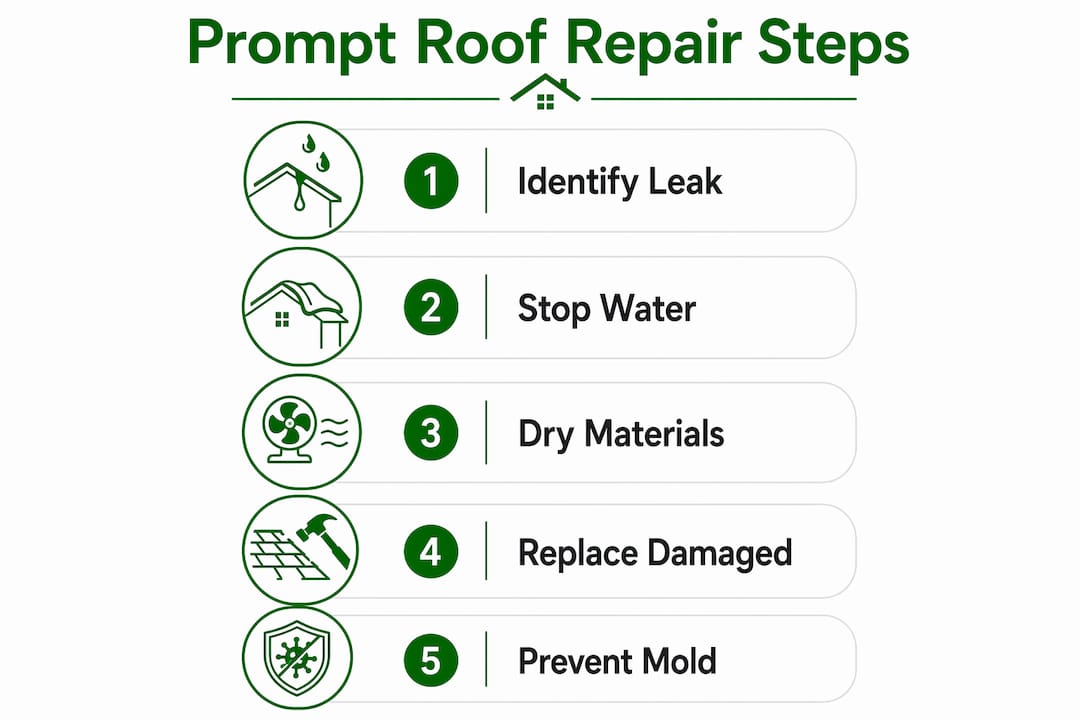
Temporary measures like tarps and emergency flashing serve a real purpose: they limit new water entry. But they don't dry existing moisture. If insulation or sheathing is already wet when the tarp goes on, the moisture is sealed in, not out. That's why fast roof repair benefits go beyond the patch itself — the repair enables the drying, and the drying prevents colonization.
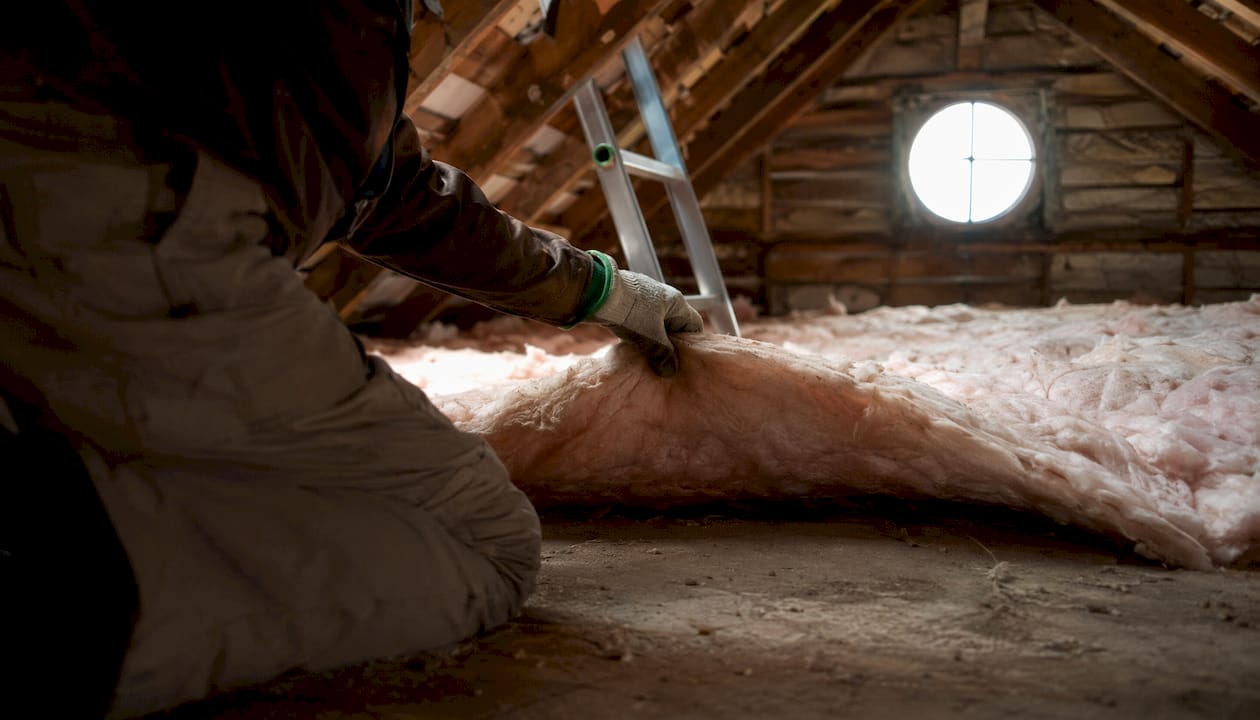
Saturated insulation and drywall often need replacement rather than drying. Porous materials hold moisture deep in their structure, and no amount of airflow fully restores them once soaked through. Replacing them removes the food source mold would otherwise return to.
Pro Tip: Water doesn't always drip straight down. Trace any staining or wet spot back along the rafter line toward the ridge before assuming you've found the leak source. The actual entry point is often a foot or more away from where the water appears inside.
What professional roofers do to stop leaks and lower mold risk
A professional roofer follows a specific sequence that goes well beyond nailing down a few shingles. Here's what a thorough contractor workflow looks like:
- Visual roof inspection — Walk the exterior to identify damaged shingles, lifted flashing, cracked pipe boots, and compromised valleys or ridges.
- Attic inspection — Check sheathing for staining, moisture, and early mold signs; use moisture meters to map wet zones.
- Emergency tarping — If the roof is actively leaking or a storm is approaching, tarp the affected area the same day to stop further water entry.
- Targeted repair — Replace or reseal failed flashing, pipe boots, and underlayment; replace damaged shingles; address any structural issues found during inspection.
- Ventilation check — Confirm ridge vents, soffit vents, and attic airflow are unobstructed; correct any ventilation deficiencies that would trap moisture post-repair.
- Post-repair moisture verification — Confirm drying progress with moisture meters before clearing the site; provide written documentation of the repair method and materials used.
- Documentation for insurance — Provide photos before and after, a written repair summary, and tarping receipts if applicable.
Most roof leaks originate at flashing details and penetrations — pipe boots, chimney flashing, and ridge vents — rather than shingle failure alone. Cracked rubber pipe boots commonly fail after 10–15 years, and many homeowners don't know to look there. A thorough inspection covers all of these points.
When requesting an inspection, ask for a 21-point-style checklist that covers: flashing condition at all penetrations, pipe boot integrity, ridge and soffit vent status, valley condition, underlayment visible damage, shingle granule loss, gutter attachment and drainage, and attic moisture readings. That level of detail gives you a complete picture and solid documentation for any insurance claim.
Roofing and mold remediation are separate trades. The roofer stops the water; the remediation contractor removes established mold. Trying to combine or skip steps creates problems — which leads directly to the sequencing question below.
When to call a pro and how to choose the right roofer
Some situations call for a phone call, not a ladder. Call a licensed roofer immediately if:
- You see visible mold in the attic or on ceiling materials
- A leak has been active for more than 24–48 hours
- Insulation is wet or compressed
- A ceiling is sagging or feels soft
- You've had storm or hail damage and the roof hasn't been inspected
What to look for in a contractor:
- Licensed and fully insured (ask for proof before signing anything)
- Written estimate with itemized repair scope
- Warranty on both materials and workmanship
- Same-day or next-day emergency tarping availability
- Willingness to document repairs with photos and written notes for insurance
Red flags to avoid:
- A contractor who recommends mold remediation before fixing the roof
- Low-ball bids with no written scope or documentation
- No license, no insurance, or pressure to sign before an inspection
- Vague timelines with no commitment to tarping or drying steps
For a full list of questions to ask before signing, our roofing estimate checklist walks you through what honest contractors provide. On timeline: tarping should happen the same day when needed, permanent repairs typically within days to a couple of weeks depending on damage scope, and remediation scheduling follows only after the repair is confirmed and drying is complete.
Maintenance habits that keep roof-related mold from starting
The best mold prevention is a roof that never leaks in the first place. The NRCA recommends inspections twice a year, in spring and fall, plus spot checks after major storms. Spring catches winter damage before it worsens; fall prepares the roof for freeze-thaw cycles and heavy rain.
Homeowner maintenance checklist:
- Clear gutters and downspouts every spring and fall, and after heavy leaf fall. Blocked gutters back water up under the roofline and create leak conditions at the fascia and eaves.
- Trim overhanging branches that deposit debris on the roof and hold moisture against shingles.
- Inspect pipe boots and flashing visually from the ground or a safe ladder position after storms. Cracked rubber or lifted metal is an early warning.
- Check attic ventilation at least once a year. Blocked soffit vents or a missing ridge vent trap humidity and create conditions that accelerate mold even without an active leak.
- Replace failing vents and boots early. A $50 pipe boot replacement now costs far less than the remediation it prevents.
- Schedule a professional inspection if the roof is more than 10 years old or after any significant hail or wind event.
A quick seasonal note: fall is the highest-leverage inspection window in the Southeast. Chattanooga's storm season and temperature swings mean roofs take real punishment from spring through summer. Catching damage in October or November gives you time to repair before winter moisture sets in.
DIY attic inspections carry real hazards. Uneven framing, low light, and insulation that conceals structural gaps make falls a genuine risk. If you're not comfortable in the attic, a professional inspection is the safer and more thorough option.
Why roof repair and mold remediation must happen in the right order
The correct sequence is non-negotiable: repair the source first, dry the structure fully, then remediate. Skipping or reversing steps is the most common reason mold returns after remediation.
Attic mold almost always signals a moisture problem, and remediation without fixing the leak fails because moisture returns and spores re-establish within 24–48 hours. Remediation contractors who work on a still-wet structure are essentially cleaning a surface that will be re-colonized before their invoice is paid.
The IICRC S520 standard governs professional mold remediation. Under that framework, the moisture source must be confirmed closed before remediation begins. Industrial drying equipment and moisture meters verify structural dryness before any cleaning or material removal proceeds. For insurance purposes, documented repair work provides written proof that the source is eliminated, which protects both the homeowner and the remediation contractor from future disputes.
The EPA sets the threshold for homeowner mold cleanup at areas under 10 square feet. Anything larger, or any case involving porous materials like insulation or drywall, requires professional remediation with containment and HEPA filtration.
Porous materials — insulation batts, drywall, and wood with deep penetration — generally need removal rather than surface cleaning. Moisture trapped inside them sustains mold even after the surface looks clean. Replacing them removes the food source entirely and gives the repair a clean foundation.
Key Takeaways
Prompt roof repair prevents mold by eliminating moisture within the critical 24–48-hour window before spores colonize organic building materials.
| Point | Details |
|---|---|
| The 24–48-hour window | EPA guidance: dry water-damaged materials within 24–48 hours to prevent mold colonization. |
| Repair before remediation | Fix the leak first, dry fully, then remediate — reversing this order causes mold to return. |
| Porous materials need replacement | Saturated insulation and drywall usually require removal, not just drying, to stop recurring growth. |
| Biannual inspections reduce risk | NRCA recommends spring and fall inspections to catch damage before leaks create mold conditions. |
| Chattanoogaroofrepairs | Offers same-day tarping, 21-point inspections, and documented leak repairs to stop moisture fast. |
The repair-first rule matters more than most homeowners realize
Most people who call about mold in their attic have already spent money on it once. A remediation company came out, cleaned the sheathing, and charged a fair price. Six months later, the smell is back. When we get on the roof, the pipe boot that was cracked a year ago is still cracked. The moisture source was never closed.
That pattern repeats constantly, and it's entirely preventable. The repair-to-dry-to-remediate sequence isn't a technicality. It's the reason remediation either works permanently or doesn't work at all. Mold doesn't care how thoroughly the surface was cleaned if the wood behind it is still cycling wet and dry with every rain.
What I'd tell any homeowner: don't wait for a ceiling stain to confirm what a musty smell already told you. Schedule an inspection after any storm, after any visible leak, or simply as part of your spring and fall routine. The cost of a professional inspection is a fraction of what a remediation project runs, and catching a failed pipe boot or lifted flashing early keeps the whole problem from starting.
Chattanoogaroofrepairs protects your home from leak-driven mold
When a leak is active, the fastest way to protect your home is a team that can tarp the same day and repair it right. Chattanoogaroofrepairs serves Chattanooga and surrounding areas with roof leak repair and emergency tarping, full roof replacement, gutter installation and repair, and comprehensive 21-point inspections that document every flashing detail, pipe boot, vent, and valley condition.
Every inspection comes with a written report you can use for insurance claims or remediation coordination. Materials are sourced from GAF and Owens Corning with manufacturer-backed warranties, and estimates are transparent with no pressure to sign before you're ready. If you've found a leak, noticed a musty smell in your attic, or simply haven't had your roof checked in the last year, schedule a free inspection today. Stopping moisture early is always the lower-cost path.
Authoritative sources and further reading
These are the primary references used throughout this guide. Each one is worth bookmarking for your own records.
- EPA: A Brief Guide to Mold, Moisture and Your Home — The foundational homeowner resource on moisture control and the 24–48-hour drying window.
- EPA: Mold Cleanup in Your Home — Sets the 10-square-foot DIY threshold and explains when professional remediation with HEPA containment is required.
- EPA: Mold Course Chapter 9 — Technical detail on drying timelines and the conditions that trigger professional remediation.
- CDC: You Can Control Mold — Plain-language guidance on humidity control, leak repair, and health effects of indoor mold exposure.
- NRCA Roofing Guidelines — Industry standard for inspection frequency, maintenance timing, and proactive repair practices.
- EPA: Mold Testing or Sampling — Explains why testing alone is not a substitute for removing moisture sources and remediating visible damage.
This article is general information for homeowners and is not a substitute for professional advice. Confirm current guidance with the EPA, CDC, or a qualified contractor for your specific situation.